 10+ Years of Experience
 Same-Day Service Available
Best Dishwasher 2025: Choose the Right One for Your Kitchen
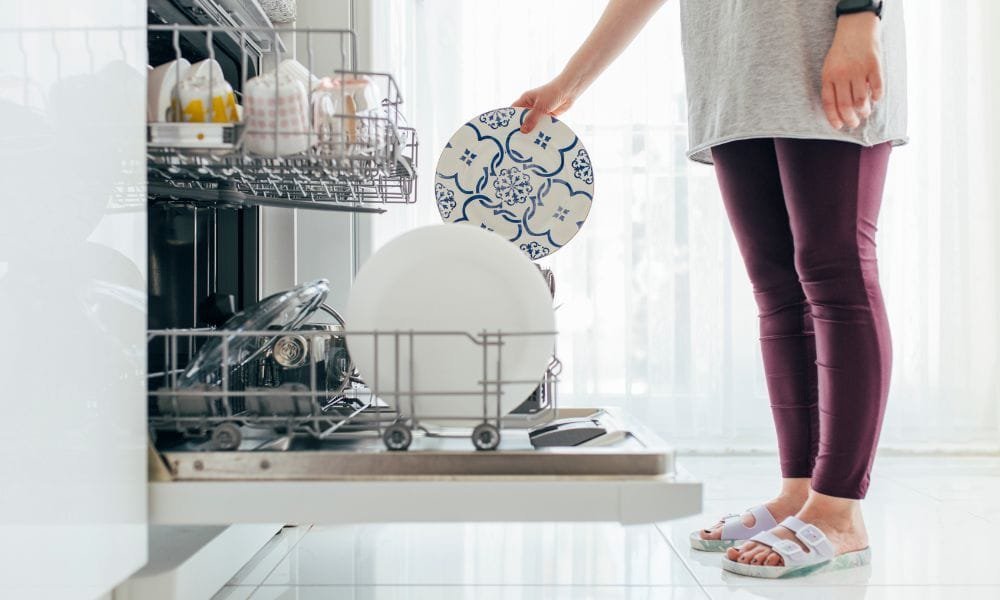
Best Dishwasher 2025: Choose the Right One for Your Kitchen In today’s hectic world, a dishwasher is not a luxury it’s a kitchen necessity. From time saving to water and energy conservation, dishwashers are more intelligent and efficient than ever. Yet, with hundreds of brands available and new features every year, how do you choose the best dishwasher 2025 for your home? This in depth guide takes you through the most important considerations, features, and technologies that are most relevant when choosing a Best Dishwasher 2025. You’re upgrading, or you’re purchasing one for the first time; you’ll know just what to do to make a wise, future-proofing decision. Types of Best Dishwasher 2025 Dishwashers are available in many types, each for particular kitchen configurations and family requirements. Here’s the brief rundown: 1. Built-in Dishwashers Located directly under your countertop. Provide an integrated, clean look. Come in various sizes and capacities. 2. Portable Dishwashers Perfect for apartments or households that lack integrated spaces. Handy to connect to a faucet. Come with wheels for maneuverability. 3. Drawer-Style Dishwashers Have two separate drawers that operate independently. Energy-conserving and water-efficient. Perfect for singles or small loads. 4. Smart Dishwashers Come with Wi-Fi connectivity, voice activation, and app integration. Support remote monitoring and diagnostics. The majority of models come equipped with smart sensors for self-adjusting cycles. Regardless of your kitchen design, there is a flawless fit among the top-rated dishwasher 2025 models. The Most Important Features to Consider in 2025 Technology and innovation have revolutionized the world of dishwashers. While shopping for a model, consider the following key features: Energy Efficiency Check for the ENERGY STAR certification. New insulation and high-efficiency water jets save power. Water Use New models consume as little as 3 gallons per cycle. Sensors regulate water levels according to load size. Quiet Operation Sound is rated in decibels (dBA). Opt for dishwashers with a rating less than 45 dBA for silent operation. Load Flexibility Fold-down tines and adjustable racks hold big pots or misshapen dishes. Cleaning Performance Dual spray arms and pressure levels increase cleaning intensity. “Zone cleaning” models concentrate power where it’s most needed. Smart Technology Trends in Dishwashers In 2025, intelligent dishwashers lead the market with innovations that enhance efficiency and user experience: Wi-Fi Enabled Controls: Manage and observe wash cycles using your smartphone. Voice Assistant Integration: Start or stop the dishwasher using Alexa or Google Assistant. Auto-Refill Alerts: Receive notifications when rinse aid or detergent levels are low. Self-Cleaning Filters: Less hands on upkeep, greater cleanliness. The Best Dishwasher 2025 frequently involves adopting these intelligent innovations. Best Dishwasher 2025 Brands and Models Though there are numerous great brands, a handful consistently dominate in quality, performance, and innovation: 1. Bosch Reputable for quietness and longevity. Highest-rated for energy efficiency and cleaning quality. 2. Miele Delivers stylish design and high end features. AutoOpen drying system and sensor-assisted wash cycles. 3. LG Excellent value for smart technology. Wi-Fi control, QuadWash system and TrueSteam features. 4. KitchenAid Excels at heavy-duty cleaning. Ideal for large households or frequent entertainers. If you’re determined to have the top dishwasher 2025, begin with these proven and tested brands. Check our full list of supported appliance brands to confirm we can service your model down the road. Getting the Right Size and Capacity Picking the right size isn’t only a matter of kitchen space it’s also about synchronizing with your lifestyle. Standard (24-inch): Holds 12 16 place settings. Ideal for families. Compact (18-inch): Holds 6–8 place settings. Ideal for tiny kitchens. Drawer Models: Suitable for singles or couples. The majority of the top dishwashers in 2025 also have flexible rack systems to fit multiple sizes of dishes. Pricing We use upfront flat-rate pricing. Your technician diagnoses the problem first, then explains the repair and its flat rate before any work begins, so there are no surprises. Every completed repair is backed by our 90-day service guarantee. You don’t have to break the bank to find a dependable dishwasher. Here’s an approximate breakdown: Even in lower price segments, you can get the best dishwasher 2025 for you if you know what to look for. First-Time Buyer Tips Read User Reviews: Go beyond scores and read full reviews from actual users. Check Warranties: The lengthier the warranty, the more confident the manufacturer is likely to be of the quality of the product. Go to a Showroom: Observe how dish racks glide and inspect build quality. Measure Space: Don’t overlook depth and clearance space for the door. Environmental Impact and Sustainability In 2025, sustainability is more important than ever. An energy efficient dishwasher reduces: Wasting water. Carbon footprint. Utility bill expenses. Best dishwashers 2025 models are typically designed with both performance and sustainability in mind. Real-Life Example: A Family’s Dishwasher Upgrade Get acquainted with the Martins a family of four who upgraded from a loud 2010 dishwasher to a smart, ENERGY STAR factory-trained model. They now operate the dishwasher overnight, monitor wash cycles through an app, and reduced their water bill by 15%. The investment in one of the top-rated dishwasher 2025 models has both paid off in terms of convenience and cost savings. For the most up-to-date energy efficiency standards, check the latest recommendations from ENERGY STARs official dishwasher certification guide. Conclusion Best Dishwasher 2025 Finding the best dishwasher in 2025 involves knowing what your kitchen requires, pitting smart capabilities against each other, and spending on long term performance. With emerging technologies turning appliances quieter, quicker, and smarter, there’s no reason to hold on to outdated technology. Already own a dishwasher that’s acting up? Don’t miss our expert guide on professional dishwasher repair services in Victoria, part of our broader appliance repair services, to extend its lifespan. From built in to compact, smart to cost-effective, there’s a model out there that suits your lifestyle and philosophy. Let the advice in this guide guide you to the Best Dishwasher 2025 and make dinner cleanup quicker, simpler, and more sustainable than ever. FAQs about Best Dishwasher 2025 Q1: Which is
Freezer Burn Prevention: Expert Smart Tips & Fixes for 2025
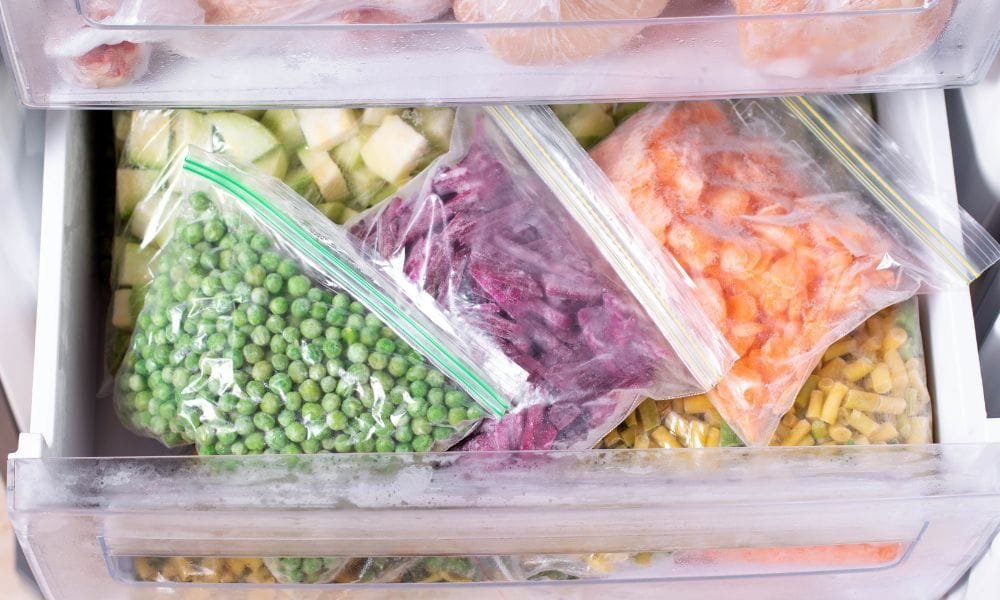
Freezer Burn Prevention: What You Need to Know in 2025 In 2025, the demand for energy efficiency and food preservation is higher than ever. While freezers are essential for storing perishable goods, one persistent problem still haunts homeowners and chefs alike—freezer burn. Whether you’re freezing leftovers or stocking up for winter, understanding freezer burn prevention is crucial to protect your food’s quality, taste, and nutritional value. This detailed handbook discusses all you should know regarding freezer burn: what it is, why it happens, how to avoid it, and what to do if your food is already victim to freezer burn. By taking a little awareness and applying a few clever tricks, you can get your freezer on your side, rather than against it. What Is Freezer Burn? Freezer burn happens when frozen foods lose water content and become dry. It’s usually a result of exposure to air within the freezer. This results in dry, grayish-brown spots on meat or pale, shriveled patches on vegetables and fruits. Freezer-burned foods aren’t unhealthy to consume, but they might be lacking flavor, have an unusual texture, or even have an unpleasant odor. Hence, prevention of freezer burn is the best way to ensure your meals remain flavorful and nutrient-rich. The Main Causes of Freezer Burn Knowledge of the causes of freezer burn is the key to prevention. The main culprits are as follows: Air Exposure: When air touches frozen food, it results in moisture loss and oxidation. Poor Packaging: Flimsy or torn wrapping lets air seep in. Temperature Shifts: Too frequent opening of the freezer or a faulty door seal can alter temperatures and lead to burn. Long-Term Storage: The longer food remains frozen, the more vulnerable it is to burn and dehydration. How to Identify Freezer Burn Even if you’re not sure if your food is freezer burned, these are red flags: Ice crystals in packaging Discoloration (white, gray, or brown spots) Dry, hard textures Off odor when defrosting Smart Freezer Burn Prevention Tips in 2025 Prevention is better than cure. These real-world, cutting-edge tips will assist you in maintaining your food’s quality: 1. Utilize Vacuum Sealers A vacuum sealer sucks all the air out of the packaging, making it the most efficient tool for freezer burn prevention. Invest in a smart vacuum sealer capable of adjusting sealing pressure automatically according to the type of food. 2. Wrap Food Securely Employ freezer-safe plastic wrap, foil, or dedicated freezer bags. Double wrap delicate items such as meat or fish for additional protection. 3. Label and Date Everything Knowing when you froze something makes it easier to plan what to eat first. Label with erasable freezer labels to make it simpler to organize. 4. Store in Freezer-Safe Containers Hard containers with snug-fitting lids exclude air. Opt for BPA-free, stackable containers to conserve storage and minimize airflow. 5. Freeze in Portion Sizes Portion sizes freeze more quickly and thaw uniformly. This lowers the likelihood of partial thawing, which introduces moisture and causes freezer burn. 6. Don’t Overload the Freezer A more efficient full freezer, but more likely to block air circulation if overloaded. Balance is essential. 7. Limit Freezer Access Keep opening the door allows warm air in and interrupts the temperature. Educate family members to restrict unnecessary openings. 8. Check Your Freezer Temperature Keep it at or below 0°F (-18°C). Use a digital thermometer to ensure accurate readings. Intelligent freezers of 2025 can have integrated temperature monitoring and notification. If your freezer can’t maintain temperature even with these steps, our appliance repair services can diagnose the underlying issue. The Best Freezer Practices for Various Types of Food Various foods have various freezer storage techniques. Here’s how to store some popular foods: Meats & Poultry Vacuum-seal or wrap in freezer paper, then aluminium foil. Do not store for longer than 6–12 months. Fruits & Vegetables Blanch first to help preserve color and texture. Store in air-tight containers or freezer bags. Baked Goods Freeze on a tray first, then move to containers to prevent clumping. Use wax paper between items. Dairy Products Freeze in small portions. Shake or stir upon thawing to replenish texture. How to Correct Freezer-Burned Food If you find freezer burn in spite of your best attempt, do not discard it at once. A few remedies can revive your food: Trim the Burnt Regions For meat and vegetables, trim the dehydrated or discolored areas prior to cooking. Marinate Meats Strong marinade can revive the flavor and moisture. Use in Soups or Stews Add freezer-burned foods to mixed dishes where texture matters less. Smart Products Which Freezer Burn Prevention in 2025 Today’s tech can make prevention of freezer burn simpler and more effective: Smart Freezers: Provide temperature change alerts in real-time. AI-Based Inventory Apps: Monitor contents in your freezer and notify you of expiry dates. Auto-Sealing Containers: Automatically expel excess air after usage. These technologies are not just handy they prevent food wastage and save you money. According to experts at FoodSafety.gov, proper storage practices are essential for long-term freezer burn prevention. Environmental & Economic Benefits of Freezer Burn Prevention Preventing freezer burn doesn’t only benefit your meals. It also helps: Cut down on food waste: Less rotten food equals fewer contributions to the landfill. Save dollars: Throwing away less food equals fewer trips to the grocery store. Save energy bills: A well-organized, efficient freezer consumes less power. Real-Life Example: Before & After Freezer Management Her freezer was chaotic, and foods were not labeled. After: She started using proper labeling, vacuum sealers, and restacking the freezer by category. Now, she hardly ever throws away food, and everything tastes delicious—even after several months of storage. Conclusion about Freezer Burn Prevention In 2025, it’s not hard to keep your frozen food fresh—you just need to plan ahead and use some clever storage. With the right methods and equipment, you can bid adieu to dry, flavorless meals and hello to great-tasting frozen dishes all year round. Explore expert strategies for freezer health in our detailed guide on
Smart vs Traditional Appliances: Energy Savings in 2025
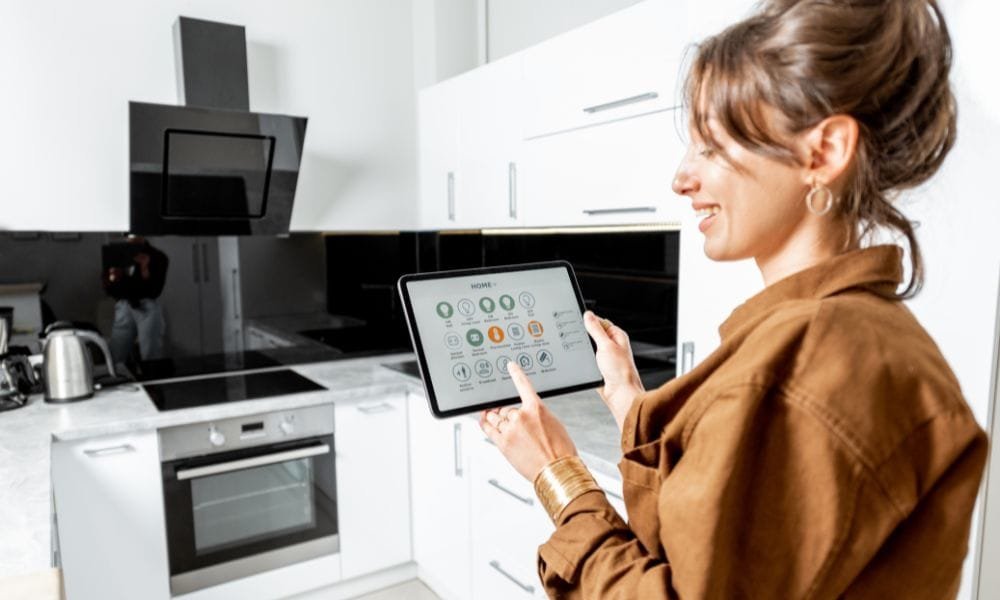
Smart vs Traditional Appliances in 2025: What’s the Real Energy Saver? The argument for smart versus ordinary appliances is more pertinent than ever in 2025. With energy bills going up and environment-friendliness a concern at home, homeowners find themselves wondering which appliances really cut it. Do you hold onto your trusty old washing machine or upgrade to a smart one that can be controlled from your phone? Is a smart fridge worth all the fuss, or does it really just add bells and whistles? In this blog, we will highlight the energy-saving features of smart and conventional appliances, so that you can choose wisely for your home and the planet. Choosing between smart vs traditional appliances has become a key decision for homeowners in 2025. As energy efficiency becomes more important, understanding how smart vs traditional appliances perform can help you reduce bills and environmental impact. This blog explores the truth behind smart vs traditional appliances, comparing features, savings, and long-term value. Learning the Fundamentals: What Does it Mean for an Appliance to be “Smart”? Let’s first clarify what smart appliances are. A smart appliance has connectivity capabilities (typically Wi-Fi or Bluetooth), sensors, and occasionally AI to support remote control, automation, and energy consumption optimization. Typical characteristics of smart devices are: Remote access and management through smartphone apps Automated cycles according to usage patterns Maintenance notifications Smart home system integration (such as Alexa or Google Home) Instantaneous energy consumption reports Conventional devices, however, function manually without internet connection or automation. They tend not to have sensors and need more user inputs, but they’re typically less expensive to purchase upfront and easier to fix. Energy Efficiency: The Core of the Debate Energy efficiency is the top consideration when comparing Smart vs Traditional Appliances. Let’s break down how they perform in various categories: 1. Refrigerators Smart: Automatically adjust internal temperatures according to door usage or time of day; alert you if the door has been left open. Traditional: Fixed temperature, set-and-forget cooling. Winner: Smart refrigerators conserve energy over time through dynamic optimization. 2. Washing Machines Smart: Auto-adjust water level, cycle duration, and detergent dosage according to load size. Traditional: Wasteful of water and electricity in manual cycles. Winner: Smart washers are smarter by adapting to real needs. 3. Dishwashers Smart: Autopilot with sensors to adjust water pressure and temperature; auto-start off-peak. Traditional: Higher water and energy consumption with no automation. Winner: Smart dishwashers, particularly Energy Star-rated ones. 4. Ovens Smart: Remote preheat, store favorite recipes, and auto-turn off. Traditional: Simple cooking functions, no connectivity. Winner: Smart ovens help save energy by precision cooking and automation. 5. Dryers Smart: Automatically detect moisture levels and stop cycles. Traditional: Operate on timers, tending to over-dry clothes. Winner: Smart dryers that save energy and minimize wear on clothes. Real-World Scenarios: Comparing Energy Bills Let’s assume two households: Household A is equipped with only traditional appliances. Household B replaced traditional appliances with smart ones within the past 12 months. Results: The Environmental Impact Saving energy isn’t just good for your wallet. It also has a big effect on your carbon footprint. Smart appliances: Consume less power during peak periods Cut emissions by not using extra cycles Connect with renewable energy systems Even if you’re not living completely off the grid, these changes add up across thousands of homes, making smart appliances a more eco-friendly choice. Upfront Costs vs. Long-Term Savings One of the biggest barriers to smart appliances is the initial cost. Let’s break down the cost comparison: While the upfront cost is often double, the savings over 5–10 years—and the added convenience—usually justify the investment. Common Misconceptions About Smart Appliances “They’re complicated to use.” Most smart appliances are accompanied by easy-to-use apps and voice control. “They break more frequently.” In fact, most smart devices provide maintenance notifications, reducing the likelihood of breakdowns. “They spy on you.” Though concerns exist regarding privacy, the majority of smart appliances gather usage statistics only to enhance efficiency. “They require ideal Wi-Fi.” Most still operate manually if cut off from the internet. When to Choose Traditional Appliances In spite of all the benefits, conventional appliances do have their niche: If renting or in the process of moving When on a tight budget For users who like straightforward, mechanical controls Where internet connectivity is poor Tips for Smarter Energy Consumption (Irrespective of Appliance Type) Disconnect unused appliances to eliminate phantom energy consumption. Make use of power strips for bulk shut-off. Regular maintenance such as cleaning filters and coils. Use off-peak power hours for heavy-load operations. Educate the family members on energy-saving practices. Expert Insights about Smart vs Traditional Appliances Smart appliances provide an unparalled opportunity to cut your energy cost while upgrading home comfort and convenience. They pay for themselves in a few years. Jane Mullins, Home Energy Consultant Old-fashioned appliances remain valuable in some contexts, particularly for temporary usage or low connectivity locations. Mike Jensen, Appliance Technician. Compare smart vs traditional appliances based on energy standards through Energy Star’s official comparison resources. Conclusion about Smart vs Traditional Appliances In the war of Smart vs Traditional Appliances, smart appliances gain the advantage of energy savings, ease of use, and good for the environment particularly in 2025, with smart technology having become more advanced and cost-effective. Although conventional models continue to function well in certain cases, investing in smart versions is a smart move for the new-age, energy-aware home. Discover how routine care complements the benefits of smart vs traditional appliances in our appliance maintenance tips guide, and browse our supported appliance brands to see which smart models we service. By knowing the strengths of both kinds and developing wiser habits in general, you can pay substantially less for your energy and live a more environmentally friendly lifestyle. FAQs about Smart vs Traditional Appliances Q1:Smart vs Traditional Appliances which more costly to fix? A1: Occasionally, but many include extended warranties and diagnostic software. Q2: Can smart appliances be used manually? A2: Yes, most can still operate without connectivity. Q3: Are smart appliances
Save Energy in 2025 with Smarter Appliance Usage
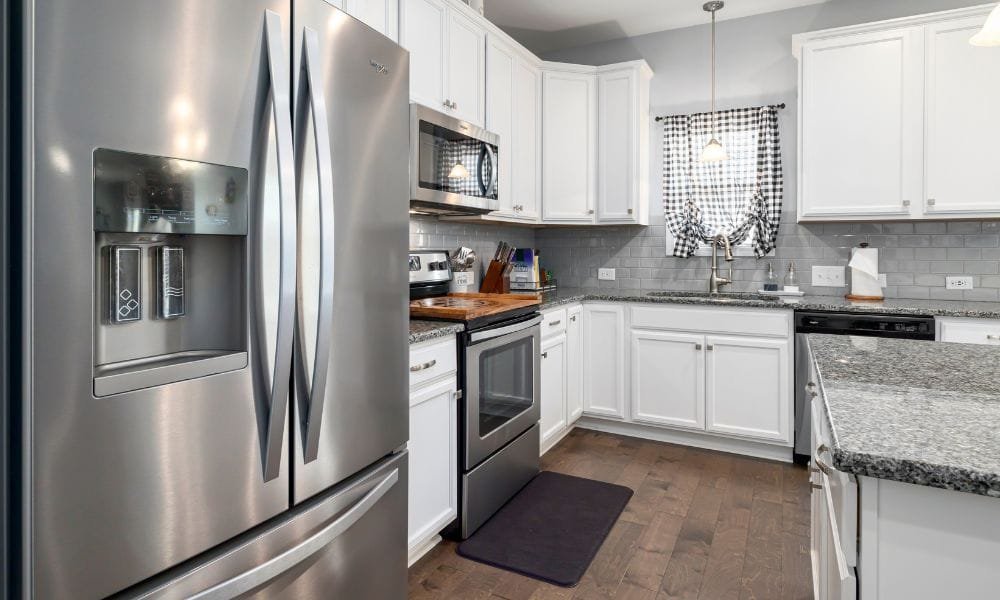
Smarter Appliance Usage in 2025: Your Ultimate Guide to Saving Energy Energy efficiency is not only a trend anymore – it’s a requirement. With increasing utility bills and more pressing concerns about global warming, homeowners are seeking efficient ways to cut their energy usage. Smart appliance use is one of the most effective measures. In 2025, smart technology and eco-friendly habits are revolutionizing the way we utilize our home appliances. This in-depth guide will teach you how to adopt smarter appliance use to conserve energy, reduce your bills, and help make the world a greener place. Why Smarter Appliance Usage Matters Every appliance in your home draws energy – some more than others. From your refrigerator running 24/7 to the oven you use for cooking dinner, energy use adds up fast. But smarter usage isn’t just about using appliances less it’s about using them wisely. Benefits of smarter appliance usage include: Reduced energy bills Longer appliance lifespan Lower carbon footprint Improved home efficiency By bringing together smart devices and mindful habits, you’re not just saving money but contributing to sustainable living as well. Knowing Smart Appliances Smarter Appliance Usage are loaded with technologies such as sensors, Wi-Fi connections, and automated control. These features enable you to: Check energy usage in real-time Manage appliances remotely Get maintenance notifications Save energy based on your behavior Common examples range from smart thermostats, energy-saving washing machines, to Wi-Fi-connected refrigerators. Top Appliances That Gain the Most from Smarter Use Here’s a breakdown of key household appliances and how smarter usage can make a difference: 1. Refrigerator Smart Tip: Keep it 3/4 full to maintain cooling efficiency. Upgrade Advice: Use a smart refrigerator that sends alerts if doors are left open or temperatures rise. 2. Washing Machine Smart Tip: Run full loads with cold water and use high-efficiency detergent. Upgrade Advice: Smart washers choose the best cycle based on load weight and fabric type. 3. Dishwasher Smart Tip: Utilize the eco mode and operate it only when loaded. Upgrade Advice: Opt for dishwasher models with automatic water and energy adjustment. 4. Oven Smart Tip: Preheat when required and cook several foods simultaneously. Upgrade Advice: Install a smart oven that has remote preheat and precision cooking features. 5. Dryer Smart Tip: Clean lint filters following each use and dry heavy loads. Upgrade Tip: Intelligent dryers can alert you when clothes are dry to avoid over-drying. 6. HVAC System Smart Tip: Filter maintenance and thermostat settings to eco-friendly levels. Upgrade Tip: Smart thermostats understand your routine and adjust temperatures for you. 2025 Smart Appliance Trends New technologies creating a splash in 2025 include: AI-Powered Suggestions: Appliances that learn about your routines and offer energy-saving options. Home Energy Dashboards: Track usage on all devices from one hub. Voice Integration: Operate appliances with smart speakers such as Alexa or Google Home. Grid-Aware Appliances: Appliances that modify their operation according to electricity grid demands. These technological advancements encourage smarter appliance usage like never before. Practical Tips to Implement Smarter Appliance Usage 1. Schedule Your Usage: Operate high-power appliances during off-peak times. 2. Unplug When Not in Use: Even standby power is used by idle appliances. 3. Employ Energy Star Factory-trained Appliances: Find factory-trained models that consume less energy. 4. Activate Smart Features: Utilize manufacturer apps to remotely monitor and control. 5. Educate the Household: Make sure everyone at home knows how to efficiently use appliances. 6. Regular Maintenance: Keep appliances clean and serviced to ensure they perform at optimal levels. 7. Employ Load-Shifting Techniques: Shift flexible usage (e.g., laundry) to low-demand periods. 8. Choose Multi-Functional Appliances: Combo appliances can be energy- and space-saving. Common Mistakes to Steer Clear Of In pursuit of smarter appliance use, steer clear of these common pitfalls: Not updating smart device software Overloading the appliances Placing devices in standby mode all the time Skipping regular cleaning and maintenance Misusing energy-saving modes Being mindful of these pitfalls can help ensure your efforts translate to actual energy savings. How to Monitor Energy Consumption Effectively Monitoring your energy consumption allows you to see what changes are having the greatest effect. Utilize devices such as: Smart Meters: Placed by power companies to provide instant feedback Appliance-Specific Monitors: Tools such as Sense or Emporia are able to monitor individual use Smart Plugs: Plug in any appliance to determine how much it consumes Check your usage on a weekly basis to discover trends and make appropriate adjustments. Real-World Impact of Smarter Appliance Usage Families that adopt more intelligent appliance use in 2025 are experiencing real benefits: A Victoria, BC family cut their monthly bill by 30% after installing smart appliances and optimizing their patterns of use. Another house saved 1,500 kWh per year by simply switching off standby power on their entertainment system. Remote commuters have programmed their appliance cycles to run in sync with solar panel energy output, enhancing energy autonomy. These instances show how minor adjustments can lead to dramatic outcomes. When to Replace Old Appliances Even the most efficient usage will not solve a leaky old appliance. Replace those appliances that: Are older than 10-15 years No longer operate economically Break down often Do not have energy-saving technology Buying new, smart-powered appliances is an energy-saving win in the long run. Stay up to date on national standards and expert advice around smarter appliance usage by visiting Energy Star’s official guidelines. Conclusion about Smarter Appliance Usage Smarter Appliance Usage in 2025 is not just a buzzword it’s a realistic, effective method of controlling your home, your energy, and your pocketbook better. From smart ovens to scheduling washing machines, the plans in this guide provide effective, realistic steps toward minimizing energy wastage. To improve your efforts in smarter appliance usage, check out our expert-backed appliance maintenance tips designed for long-term energy savings. As technology advances, being updated and developing smarter habits will keep your home energy-efficient for many years. FAQs about Smarter Appliance Usage Q1: Is it worth making all appliances smart? A1: Not necessarily all at once. Begin with the
How to Deep Clean Dishwasher Like a Pro (Easy Steps)
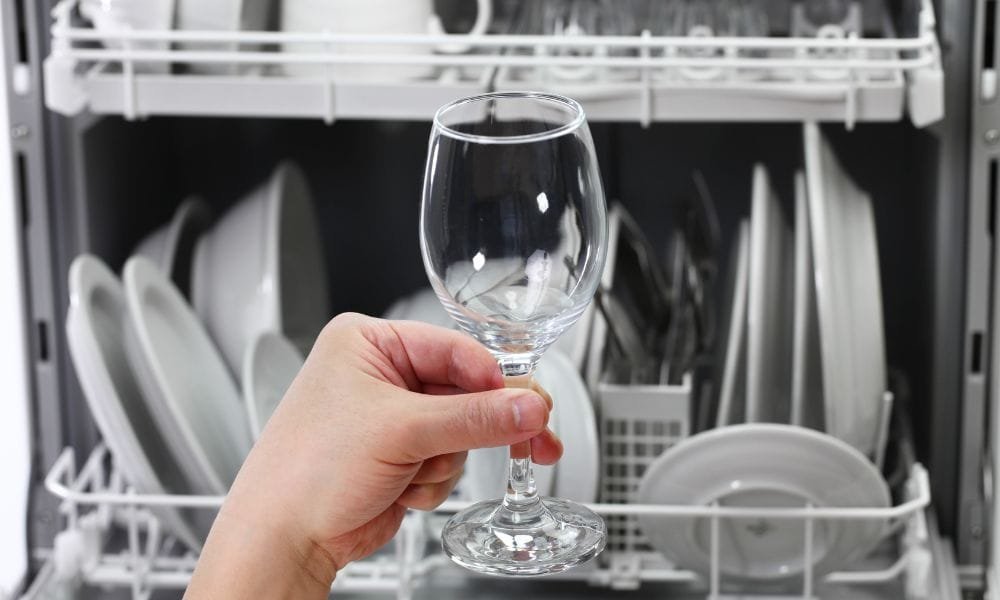
The Ultimate Guide to Deep Clean Dishwasher Like a Pro Dishwashers are among the most hardworking appliances in your kitchen but tend to be overlooked when it comes to cleaning. Ironically, a device designed for cleaning can be a haven for mold, food debris, and soap scum if not properly cleaned. In this guide, we’ll demonstrate step by step on how to deep clean dishwasher to ensure it remains fresh, efficient, and durable. Whether you’ve caught a funky odor or your dishes aren’t sparkling like they once were, this guide has you covered. Why You Need to Deep Clean Dishwasher Like any other household appliance, dishwashers also need to be cleaned from time to time in order to function effectively. Grease, limescale, and food particles can accumulate in different parts of the appliance over time, for example, the filter, spray arms, and door seals. Such deposits can cause: Poor performance while cleaning Bad smells Drainage problems Reduced lifespan of the appliance Deep cleaning periodically will avoid such problems and save you money in the long term. In addition, a clean dishwasher not only performs more efficiently but also helps you maintain improved hygiene for your dishes. The process eliminates bacteria and mildew that may hinder cleanliness from within. How Often Should You Deep Clean Dishwasher? While weekly light cleaning is necessary, a good deep clean is suggested once monthly. If your family makes heavy use of the dishwasher or if you regularly see residue or odors, though, you may want to deep clean it more frequently. Having a regular routine for keeping your deep clean dishwasher maintained is important for keeping your appliance powerful and odor-free, keeping your kitchen humming every day. What You’ll Need Before you begin, collect the following materials: White vinegar Baking soda Soft brush or toothbrush Microfiber cloths Dish soap Toothpicks or small cleaning brushes Screwdriver (if necessary for spray arms) Step 1: Drain the Dishwasher Completely Begin with an empty dishwasher. Take out all dishes, utensils, and racks if you can. This provides you with easier access to all interior parts. Step 2: Clean the Filter Your dishwasher filter catches food particles and debris. If it is clogged, your dishwasher won’t clean properly. Find the filter at the bottom of the dishwasher. Twist and pull it out. Clean it with warm soapy water and a soft brush. Rinse well and put it back. Tip: Clean your filter every week to avoid buildup. Step 3: Wipe Down Door Seals and Exterior Use a damp cloth and dish soap to clean around the door edges, seals, and handle. These areas can accumulate grime and bacteria. For stubborn buildup, use a toothbrush to scrub gently. Step 4: Clean the Spray Arms The spray arms distribute water during cycles. Clogged holes can affect performance. Remove the spray arms (check your manual if unsure). Rinse them under warm water. Use a toothpick or small brush to clear clogged holes. Reattach them after they’ve been cleaned. Step 5: Run a Vinegar Wash Cycle White vinegar assists in eliminating odors, mineral deposit, and grease. Position a white vinegar-filled dishwasher-safe cup on the upper rack. Run a hot water cycle with no detergent. This will clean and refresh the inside. Step 6: Run a Baking Soda Rinse Cycle Baking soda assists in deodorizing and whitening the inside. Sprinkle one cup of baking soda at the bottom of the dishwasher. Run a quick hot water cycle. Your dishwasher should be fresh-smelling and sparkling-looking now. Step 7: Drain Area Cleaning Food bits can accumulate by the drain, creating odors and clogs. Inspect the bottom of the dishwasher for trash. Clear any visible grunge. Scrub the area clean using a brush if necessary. Step 8: Clean the Interior Wipe down the interior. After the cleaning cycles, clean the walls, door, and racks with a microfiber cloth to remove any remaining residue and wetness. Step 9: Optional: Clean Your Dishwasher with a Dishwasher Cleaner To give your dishwasher some extra shine and deep clean it every few months, you can use a commercial dishwasher cleaner. Use as directed on the label. Tips to Maintain Your deep clean dishwasher for Longer Scrape food off plates before loading. Clean the filter once a week. Drain open after every cycle to avoid moss growth Run hot water in the sink prior to activating the dishwasher Use salt and rinse if the dishwasher has the requirement When to seek an expert for deep clean dishwasher If your dishwasher smelt, leakages or performs poorly even after complete cleaning, then it is time to seek a professional technician. Long-term problems can be an indication of: Damaged seals Faulty pump and motor Drainage System blockages Electrical Malfunctions Our appliance repair services can help diagnose and fix any of these underlying issues. To explore additional expert advice on deep clean dishwasher, check out this trusted guide from Good Housekeeping. Conclusion about deep clean dishwasher A clean, deep clean dishwasher equals cleaner dishes, reduced repairs, and a longer life for the appliance. By doing precisely as laid out in this guide, you’re not just enhancing the performance of your dishwasher but also maintaining a healthier kitchen environment. Make monthly deep cleaning a routine habit and get your appliance to stay as good as new. In case the problems continue, do not hesitate to contact an expert to get professional assistance. Explore essential maintenance routines in our detailed dishwasher maintenance guide, or learn more about our appliance repair experts. FAQs About deep clean dishwasher Q1: Is bleach safe to use when deep cleaning my dishwasher? A1: Only if your dishwasher is not stainless steel-lined. Bleach damages stainless steel and rubber seals. Q2: What is the simplest way to get rid of dishwasher smells? A2: Doing a vinegar wash and then rinsing with baking soda is very effective in eliminating unpleasant odors. Q3: How do I get mold out of my dishwasher? A3: Apply a combination of white vinegar and baking soda, and brush the contaminated sections
Unlock the Secrets of Oven Settings for Perfect Results
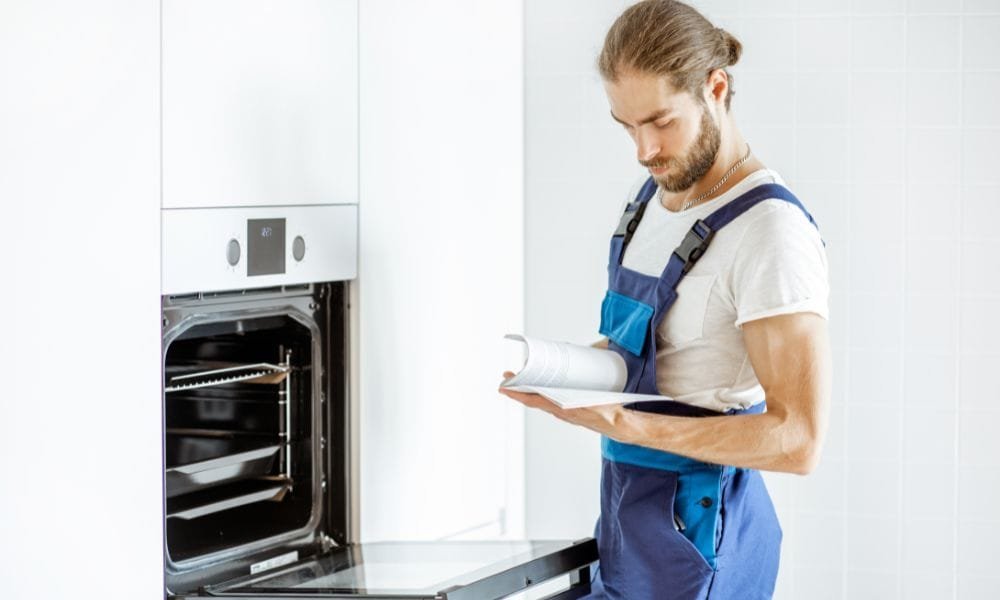
How to Bake Perfectly Every Time: Oven Settings Explained If you’ve ever caught yourself gazing at your oven wondering whether to use bake, broil, or convection, you’re not alone. Most homeowners misuse their oven just because they don’t totally know how its settings work. But when you know about oven settings, you can unleash the full potential of your oven and drastically enhance your cooking outcomes. Mastering oven settings can dramatically improve your cooking results and extend the life of your appliance. On this blog, we’ll crack the code of the most popular and sophisticated oven functions to assist you in cooking with confidence. From perfectly baked cookies to restaurant-quality broiled steaks, we’ll demonstrate when and how to utilize each feature. 1. The Basics Explained: What Are Oven Settings? Oven settings are the many cooking options found in your oven. These settings control how heat is distributed and utilized within your oven, which actually affects the way your food is cooked. Popular Oven Settings Are: Bake Broil Convection Bake/Roast Warm Self-Clean Mastering the use of these functions will take your home cooking to a new level. 2. Bake Setting: The Workhorse of Your Oven The bake setting is the most popular oven operation. It employs bottom heating elements to heat food slowly and consistently. The setting is ideal for casseroles, cake, bread, and cookies. When to Use It: Baking pastries or desserts Cooking meatloaf or lasagna Roasting vegetables Pro Tip: Preheat your oven prior to baking to achieve even cooking. Your food will cook more evenly and be more delicious! 3. Broil Setting: Intense Top Heat for Quick Cooking Broiling employs only the upper heating element to cook food with intense, direct heat—just like grilling. It’s great for rapidly browning or searing food. When to Use It: Melting cheese on a casserole Crisping the top of baked foods Cooking thin slices of meat or fish Safety Tip: Always monitor your food while broiling—things get burned fast because of the intense heat. 4. Convection Setting: Even Heat for Faster Cooking The convection setting employs a fan to blow hot air through the oven, resulting in quicker and more uniform cooking. Advantages of Convection: Shorter cooking times Improved browning and crisping Uniform cooking on multiple levels Optimal Uses: Roasting meat and vegetables Baking several trays of cookies Toasting seeds and nuts Tip: Decrease the temperature by 25°F when using convection to prevent overcooking. 5. Roast Setting: Ideal for Large Chunks of Meat Roast is like bake but employs both the top and bottom heating elements, occasionally with a fan. It makes a hot, dry climate ideal for big pieces of meat. Best For: Whole chickens Turkeys Beef or pork roasts Tip: Employ a meat thermometer to prevent overcooking. Roasting demands accuracy for optimal results. 6. Warm Setting: Keep Food Ready Without Overcooking The warm setting keeps things at a low temperature, which is perfect for warming up dishes until you’re ready to serve. Ideal For: Warming dinner plates Warming bread Preparing several dishes Tip: Don’t use the warm setting for extended periods—it will dehydrate your food. 7. Self-Clean: Easing Oven Maintenance The self-clean setting applies very high heat to incinerate spills and grease and reduce them to ash that you can simply wipe away. Note: Clear racks prior to use Ventilate your kitchen Use sparingly to extend oven life Important note: Never leave the home while your oven is in self-clean mode. 8. Reading Symbols and Icons on Your Oven New ovens employ symbols for various settings. The symbols can differ depending on brand, but most adhere to the following standards: A line at the bottom = Bake A line at the top = Broil Fan with heat = Convection Plate with steam = Warm Refer to your oven guidebook for in-depth information on these symbols. If yours is missing or unclear, check our brand-specific appliance guides for help. 9. Smart Ovens and Digital Settings Most new ovens feature smart capabilities such as Wi-Fi connectivity, app control, and self-adjusting settings. These advances ensure easy and accurate cooking. Look For: Pre-programmed recipes Voice control compatibility Real-time temperature monitoring Tip: Update the software of your oven (if applicable) to get the best out of the latest features. 10. Common Oven Setting Mistakes to Avoid Skipping preheating: Results in inconsistent cooking Overusing convection: Not all foods benefit from it Wrong rack placement: Can lead to burning or undercooking Ignoring your oven’s quirks: Get to know your appliance! Learning the strengths and weaknesses of each oven setting can help you avoid these common pitfalls. Understanding oven settings is essential for consistent cooking results and appliance safety, as outlined in trusted industry guidelines. FAQs About Oven Settings Q1: Is convection better than bake? Not always. Convection is better for roasting and multi-tray baking, but delicate items like cakes may fare better with traditional bake settings. Q2: How do I use which rack to bake? The middle rack is the best for even heat for most recipes. Q3: Is it safe to broil with the oven door left open? Some ovens need to be done so. Consult your oven manual. Q4: My food gets burned when I broil. Why? Broil employs intense top heat, so watch food carefully and place it on the right rack position. Q5: What is the difference between roast and bake? Roast typically employs both top and bottom heat, perfect for meats, whereas bake employs bottom heat, perfect for baked items. Conclusion The secret to unleashing your culinary potential lies in controlling your oven settings. Baking, broiling, or roasting – it all comes down to knowing which setting to employ and when. Ditch the guessing and adopt the control of your machine. Explore our expert advice on freezer organization tips for every season to keep your freezer running efficiently year-round, and if your oven itself needs attention, our appliance repair services are ready to help. So the next time you enter your kitchen, keep this in mind: the key to cooking like a
Top 10 Genius Freezer Organization tips to Maximize Space
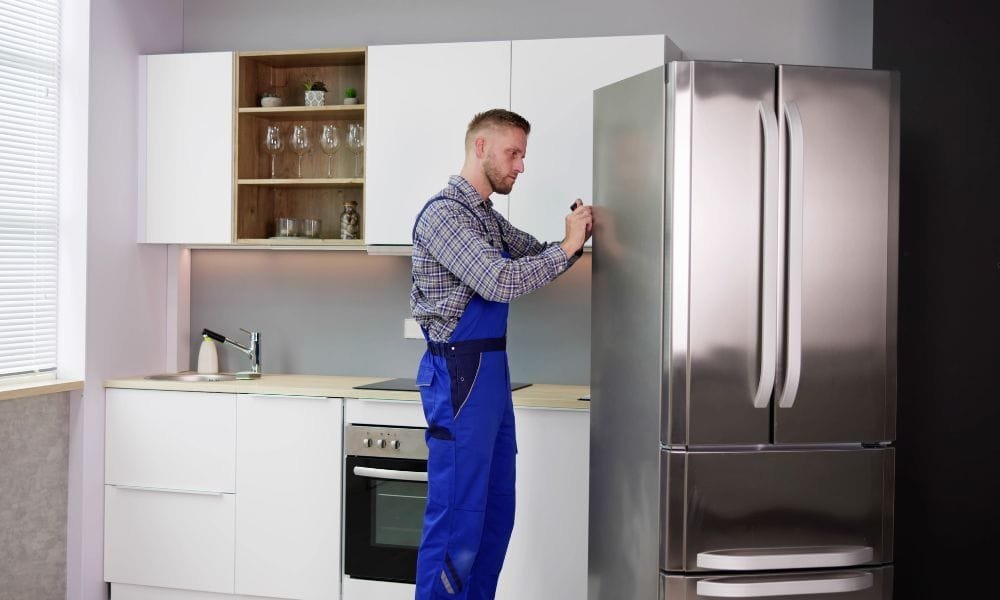
Top 10 Genius Freezer Organization tips to Maximize Space & Save Food Does your freezer look like a disorganized mess of abandoned leftovers, frozen-meat-burned hulk, and unidentified containers? You are not alone. Homeowners often find it difficult to keep an organized freezer, which usually translates into wasted food, lost space, and undue frustration. The good news? with Freezer Organization tips on organizing your freezer, you can easily give your freezer a complete makeover to a neat, efficient, and convenient space. Here are 10 effective and functional Freezer Organization tips that will save you time, space, and money. Whether you have a compact top-freezer or a huge chest freezer, these tips will ensure your food remains fresh and your freezer organized. 1. Use Clear Bins for Easy Visibility One of the easiest but most efficient Freezer Organization tips is to employ clear bins. They help you cluster things together by type—such as veggies, meat, or frozen snacks—and still be able to see everything at a glance. Tip: Each bin should be labeled with categories such as “Breakfast”, “Meat”, “Leftovers”, or “Veggies” so that you don’t have to sort through the heaps of frozen items every time you need something. 2. Label Everything with Dates It’s hard to remember when you froze that pot of chili or made those chicken thighs. Both labeling contents and freezing date prevents food spoilage and food waste. Tip: Freeze with freezer-safe labels and a permanent pen. Label the item name and the date it was frozen so that you always know which ones to use first. 3. First In, First Out (FIFO) Method This tried-and-tested stock-control method is a freezer-saver. Always store newly frozen food at the back and bring older food to the front. Tip: Keep separate bins or shelves for items that must be consumed immediately and others that can wait. This avoids lost food from becoming ice-coated relics. 4. Flat Freezing for Efficiency Instead of freezing soups, sauces, or cooked meals in large cumbersome containers, freeze them in zip-top bags and store them flat. Once frozen, they can be stacked vertically like books. Tip: This saves space and lets you stack or file your frozen foods in an upright bin or box. It also reduces thawing time! 5. Hang Bags with Binder Clips A great hack particularly for chest freezers: hang zip-top bags with binder clips on wire freezer shelves. This frees up space underneath while allowing bags to be accessed. Tip: Utilize heavy-duty clips and label the tabs of the bags so they can be easily identified. 6. Create an Inventory List You won’t forget what’s in your freezer—and you don’t have to. A freezer inventory list on the door of your freezer or shared app with family keeps everyone on the same page. Tip: Write down what’s inside, quantity, and expiration or freeze date. Cross off items that are used up and update when adding new ones. 7. Portion Before Freezing Freezing large batches may be effective, but thawing is not. Portioning your ingredients and meals beforehand allows you to simply grab what you want. Tip: Separate meats, veggies, or leftovers into single servings before freezing. It saves on food wastage and ease of meal preparation. 8. Vacuum Seal for Longevity Vacuum sealing evacuates air from the packaging, preventing freezer burn and keeping your food fresh for a longer time. Tip: Invest in a good vacuum sealer or use reusable vacuum bags. This method works especially well for bulk meats and seasonal fruits. 9. Group Items by Use or Meal Type Instead of storing all meats together, try grouping your freezer by meal type—like “Breakfast Prep”, “Dinner Starters”, or “Kids’ Lunches”. Tip: This not only makes it easier to find items but also speeds up meal planning and grocery shopping. 10. Turn and Clean Out Monthly Even the most efficient freezer organization systems require a check-up. Spend 10–15 minutes once a month to reorganize and reassess. Pro tip: Throw out expired stuff, reorganize to your liking, and update your inventory list. Checking in once a month keeps your freezer running smoothly and safely. If it’s not cooling properly no matter how well organized it is, our appliance repair services can help. Get trusted food storage recommendations and freezer organization tips. FAQs: Freezer Organization tips Q1: How regularly should I clean out my freezer? Ideally, every 3 to 6 months. Check it quickly monthly to take out expired contents and reorganize. Q2: Is it possible to freeze food in glass containers? Yes, but make sure the container is freezer-safe and leave some head space—liquids expand when frozen. Q3: How can I avoid freezer burn?Use an airtight package, vacuum seal if you can, and don’t over-freeze foods that are already stale. Q4: How best do you organize a chest freezer? Use stackable bins, label all contents, and keep an inventory list. Experiment with hanging bags using binder clips for more space. Q5: Defrost my freezer? Yes, in case you see ice accumulation. Defrosting by hand preserves freezer efficiency and capacity. Conclusion: Freezer Organization tips Freezer clutter doesn’t need to be your usual. With some organization and these clever Freezer Organization tips, you can convert your freezer into an efficient storage system. From making use of clear containers to vacuum sealing, every hack is meant to make your life easier, save money, and cut down on waste. Explore our expert advice on freezer organization tips for every season to keep your freezer running efficiently year-round. Take the time to implement these Freezer Organization tips you’ll find that mealtime gets easier, groceries stretch farther, and your freezer stays fresher. Don’t wait for another frozen-food avalanche; start organizing today and enjoy the benefits of a tidy, efficient freezer.
Top 10 Appliance Safety Tips Every Homeowner Must Know

10 Must-Know Appliance Safety Tips to Protect Your Home Home appliances are a part of our daily routine—but they can be very dangerous if not maintained properly or used with caution. Ranging from electric fires to gas leaks, internal appliance dangers go un-noticed till it’s too late. The risks may be petty, but they can result in significant accidents and costly repairs over time. Your microwave, refrigerator, oven, dryer, and other appliances work tirelessly each day—and just like any device, they need some regular care and attention. That’s why it’s essential to learn about the most frequent safety hazards and how to avert them. In this blog, we’ll go over 10 essential Appliance Safety Tips that each homeowner must know. From a malfunctioning oven to a clogged dryer vent, these tips will assist you in making your home safer and your appliances more efficient. 1. Don’t Ignore Frayed Power Cords A damaged or frayed cord is hazardous and can ignite fire. It can lead to electrical shorts, shocks, or even ignite fires—particularly when exposed to combustible materials. Cords over time get weakened through constant flexing, dampness, or exposure to heat. Tip: Inspect cords on appliances such as toasters, microwaves, and coffee makers regularly. If damage is found, unplug the appliance right away and replace the cord or the appliance. Never use tape to cover a frayed cord—it is a temporary solution and will not remove the hazard. 2. Don’t overload Outlets Overloading an outlet with too many appliances or plugged into one power strip may heat up your electrical system and raise the risk of electrical fires. High-wattage appliances such as space heaters and ovens are especially hazardous when overloaded. Tip: Get power strips with surge protection, and never string them together (plugging one strip into another). Space out large appliances to different outlets and have an electrician install more dedicated circuits if necessary. 3. Regularly Clean Dryer Vents Dryer vent clogging with lint is one of the most common causes of house fires. Lint builds up over time, constricting airflow and causing heat buildup that is highly flammable. Tip: Clean out the lint filter after each load. Every year, take down and clean the whole dryer vent hose and verify that the outside exhaust is not clogged. If you find that clothes are drying more slowly, it might be an indication that the vent is in need of service. 4. Check Appliance Recalls Manufacturers sometimes recall appliances due to design flaws or safety defects. These recalls are meant to prevent accidents, but many homeowners remain unaware of them. Tip: Register your new appliances online immediately after purchase. You’ll get notified if a recall is issued. Visit websites like the U.S. Consumer Product Safety Commission to check your existing appliances and stay informed. Implementing practical appliance safety tips not only helps you avoid unexpected hazards but also ensures your devices operate efficiently for years. With just a little effort, these appliance safety tips can make a big difference in protecting your home and loved ones from preventable accidents. 5. Never Leave Cooking Unattended Unsupervised cooking is one of the leading causes of kitchen fires. Boiling over, overheating oils, or food left in the oven can turn into fire hazards fast. Tip: Stay in the kitchen while cooking, and if using high heat, particularly. If you need to leave, turn off the appliance or have someone stand watch. Keep combustible items such as towels and paper a distance from burners and heating sources. 6. Be Aware of Gas Odors A slight gas odor near appliances such as stoves or dryers may indicate a leak—a highly dangerous condition that may cause explosions or carbon monoxide poisoning. Tip: When you smell gas, don’t use a match or electrical switches. Switch off the appliance and gas supply at once, ventilate with open windows, leave your house, and contact a professional technician or the gas company. 7. Keep Water Away from Electrical Appliances Water and electricity do not mix. Any exposure of water to appliances that are plugged in can lead to electric shock or short circuits. Practicing smart appliance safety tips can make a big difference in preventing costly and dangerous home accidents. Tip: Dry appliances and avoid using extension cords in wet locations such as kitchens or bathrooms. Never hold a plugged-in appliance with wet hands, and always dry your hands completely before using any electrical device. 8. Install Carbon Monoxide Detectors Gas-burning appliances such as ovens, water heaters, and furnaces can emit carbon monoxide—a colorless, odorless gas that is deadly when inhaled over time. Tip: Place detectors close to sleeping areas and gas-burning appliances. Test monthly and replace batteries every year. If your alarm sounds, get out of your home at once and call 911 or your local fire department. 9. Have Regular Maintenance Abandoned appliances can accumulate dangerous faults with time. Even premium equipment can deteriorate if not given regular maintenance, resulting in expensive repairs and damage. Staying proactive with appliance safety tips is one of the smartest ways to protect your home and loved ones. By following trusted appliance safety tips, you can avoid costly damage, reduce the risk of accidents, and enjoy peace of mind year-round. Tip: Have factory-trained technicians inspect and maintain your household’s large appliances every year, particularly your HVAC system, oven, fridge, and clothes dryer. Maintenance can prevent issues from arising and prolong the lifespan of your appliances. 10. Inform Your Household About Appliance Safety Tips All members of your household must learn to use appliances safely. Ignorance is usually the source of accidents, particularly children and old relatives. Tip: Educate your household members on appliance safety fundamentals, such as not pulling the cord, switching off gadgets when not utilized, being able to recognize warning signs of malfunction, and letting them know something is amiss if they smell or hear unusual noises. Establish precise guidelines on what and when to use specific appliances. The U.S. Fire Administration shares additional appliance safety tips to help reduce
Top 7 Hidden Causes of Oven Temperature Problems
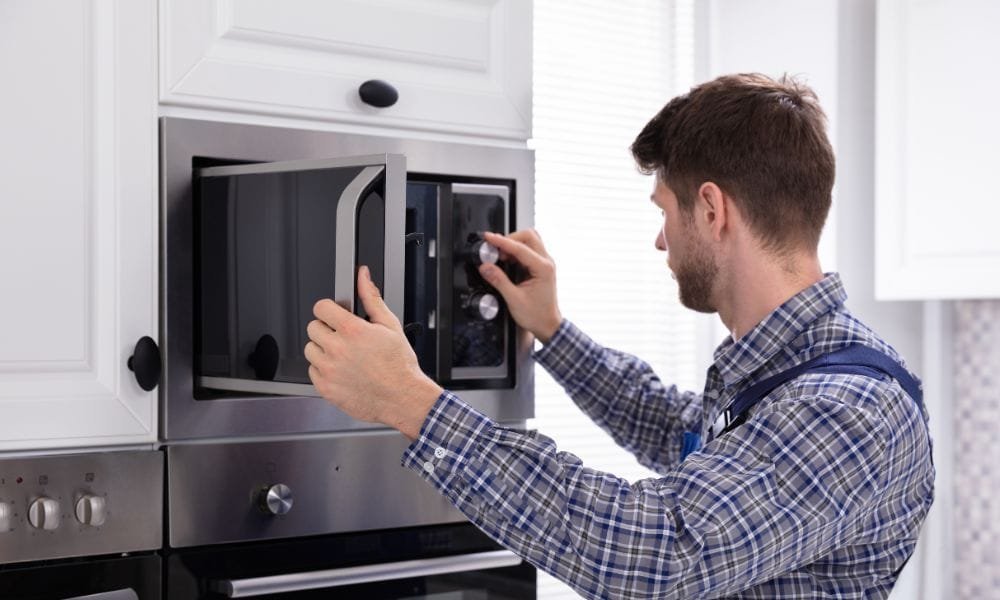
Top 7 Hidden Causes of Oven Temperature Problems (And Quick Fixes) Have you ever managed to bake a cake that is burnt on the outside but still raw in the center? Or perhaps your roast chicken just can’t seem to cook evenly? These are all tell-tale signs of Oven Temperature Problems , and you’re not alone. A faulty oven can destroy your dinners, waste energy, and induce frustration. The better news? With a bit of know-how, you can diagnose these issues like a pro. This post gets down to business about the causes, solutions, and prevention tips for oven temperature issues—so you can cook with confidence once more. Why Oven Oven Temperature Problems Are Significant Oven temperature fluctuations don’t just impact your food they impact your entire cooking experience. Here’s why it’s so important to rectify them: Food Safety: Undercooked food, particularly meats, may be dangerous. Wasted Ingredients: Doomed recipes cost you money and time. Appliance Lifespan: Repeated problems can lead to additional wear and tear on your oven. To understand where the problem lies is half the battle to more satisfactory performance. Signs You Have Oven Temperature Problems Doubtful about whether your oven is heating correctly? These are the most typical indicators: Uneven Cooking: Certain areas of food cook quicker than others. Longer Cooking Times: Recipes take longer than usual. Burnt or Undercooked Food: Despite following instructions. Preheat Takes Too Long: Or never reaches the set temperature. Oven Light Flickers or Goes Out: Could signal a deeper electrical issue. If you’re seeing any of these, it’s time for a deeper look. Common Causes of Oven Temperature Problems 1. Faulty Temperature Sensor This sensor measures the oven’s internal heat. If it’s damaged or misaligned, your oven won’t know when it has reached the set temperature. Repair: Test with a multimeter and replace if damaged. 2. Worn-Out Heating Element Ovens contain bake and broil elements. When one fails, heating efficiency is compromised. Repair: Inspect for visible damage or cracking. Replace faulty elements. 3. Inaccurate Thermostat An improper thermostat can send incorrect signals, leading to overheating or underheating. Repair: A professional can recalibrate or replace it. 4. Dirty Oven Interior Grease splatters baked onto the interior of an oven can impinge on heat circulation and lead to uneven cooking. Fix: Routine cleaning keeps heat consistent. 5. Imperfect Oven Door Seal A loose or broken gasket lets heat out. Fix: Replace the gasket to trap in the heat. How to Accurately Test Your Oven Temperature Use an Oven Thermometer Put it in the middle of the oven and take readings and compare them. A 25–50°F discrepancy is a warning sign. Check at Multiple Points Take readings at 10-minute intervals over a 30-minute test period. This indicates consistency. Avoid Depending on the Dial Mechanical dials may be off. Digital readouts can also be faulty. Home-Repair Solutions to Oven Temperature Problems 1. Calibrate Your Oven Most ovens have manual calibration through adjusting the temperature offset within settings. 2. Replace Temperature Sensor Buy a compatible part with your model number. Use video tutorials or user guides for instructions. 3. Check Heating Elements If they don’t glow red or show visible damage, they will probably need to be replaced. 4. Clean Regularly Clean grime from the interior, particularly from heating coils, vents, and fans. 5. Retighten Door Gaskets and Hinges Verify sagging doors or loose door seals and repair as needed. When to Call a Professional Sometimes it’s best to call the pros: Electrical or burning odors Faulty digital controls or circuit boards Gas oven problems (not safe to DIY) Repeated failed calibrations Invoking a factory-trained appliance technician through our appliance repair services ensures correct diagnosis and long-lasting repairs. How to Avoid Future Oven Temperature Problems Use the Oven Frequently: Inactivity leads to wear and tear on parts. Clean It Regularly: Prevents grease accumulation. Don’t Slam the Door: Saves seals and hinges. Schedule Annual Checkups: If you bake regularly. Cook with Adequate Bakeware: Shiny pans can deflect heat, impacting cooking. FAQs: Oven Temperature Issues Q1: Can oven temperature influence baking outcomes? Absolutely. A 10°F variation can make for flat cakes or undercooked interiors. Q2: Is it safe to use an unevenly heating oven? It’s not advisable. Uneven heat can be unsafe and spoil meals. Q3: How often do I need to check my oven temperature? At least once every six months or whenever you detect cooking problems. Q4: Are temperature sensors universal? No. Always replace with a model-specific one. Q5: Can power surges impact oven temperature? Yes, particularly in digital ovens that have sensitive controls. Discover more expert insights and safety guidelines related to oven temperature problems from trusted sources in the appliance repair industry. Conclusion Oven Temperature Problems are more than a slight nuisance—They can be wasteful of food, energy, and even danger. But with the proper technique, you can diagnose many of these issues on your own. Whether through resetting your thermostat, cleaning out the inside, or replacing a bad sensor, knowledge of your oven is the key to consistent performance. If you’re interested in handling appliance issues yourself, don’t miss our DIY Appliance Repair Guide—it’s packed with expert tips for tackling oven temperature problems and more. And when the problem is outside your DIY comfort zone, it’s good to call in a pro from our team of appliance repair experts to ensure your oven remains in top working order for years to come.
Your Ultimate DIY Appliance Repair Guide for Easy Fixes
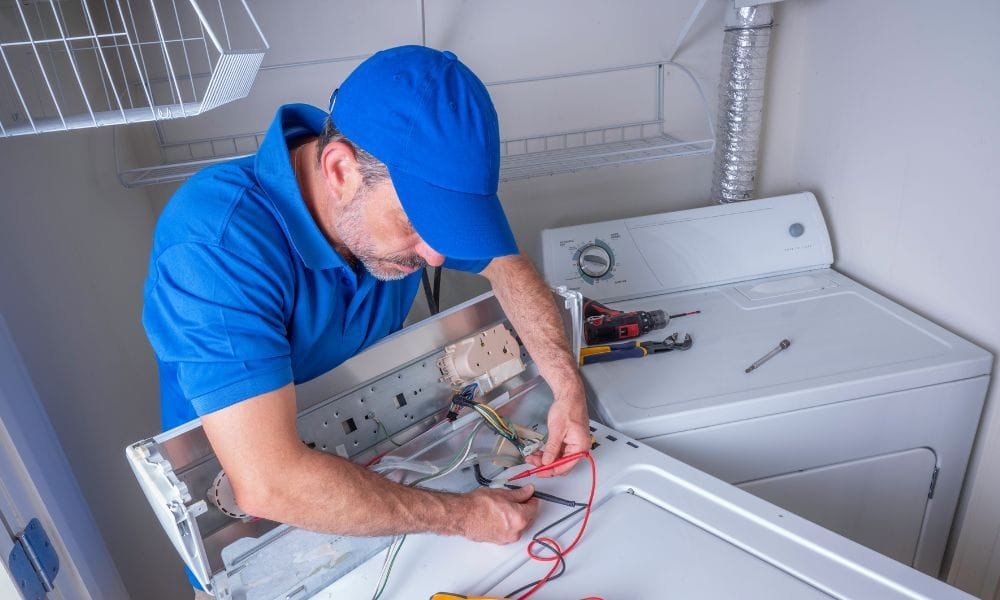
Master DIY Appliance Repair: Smart Fixes, Real Savings When your household appliances malfunction, the initial thought process is: “Should I repair it myself or call a technician?” Repairing appliances by yourself can help save you money and provide a sense of achievement. On the other hand, it may cause additional damage, invalidate warranties, or even be unsafe to do if not done properly. In this comprehensive guide, we’ll dive deep into the world of DIY appliance repair, highlight which fixes are safe to handle yourself, when to call a professional, and how to make smart repair decisions that protect your home and your wallet. Why DIY Appliance Repair is Tempting Cost Savings: Labor charges make up a big part of repair bills. DIY avoids that cost. Con.venience: You don’t need to schedule an appointment for service. Learning Opportunity: Lots of homeowners like learning about how appliances operate. Satisfaction: Making a repair work on your own is. incredibly satisfying. But the risks exist too. So how do you decide when it’s a good idea to try and when it’s time to back away? When DIY Appliance Repair Makes Sense 1. The Fix is Simple and Low-Risk. Changing a refrigerator light bulb or clearing a dishwasher filter are simple DIY tasks. Always refer to the user guide for troubleshooting procedures. 2. You Have the Right Tools Common tools such as screwdrivers, multimeters, and socket sets are necessities. If the repair involves specialized equipment, it is perhaps best to use a technician. 3. Lots of Online Resources YouTube videos and repair blogs can be very useful. But beware: not all instructions are correct or safe. 4. It Won’t Void the Warranty If your appliance is still under warranty, opening it up will void it. Always read your policy before attempting it. Common DIY Appliance Repairs You Can Try Refrigerator Replacing the water filter Cleaning condenser coils Repairing door gasket Washing Machine Cleaning the filter Replacing a cracked belt Repairing the door latch Oven Replacing oven light Cleaning the heating element Recalibrating the thermostat Dishwasher Cleaning the spray arm Repairing a blocked drain Replacing the dispenser for detergent All of these activities can usually be done safely with a little patience and minimal tools. Red Flags: When to Call a Professional 1. Electrical Issues Scorched odors, sparks, or tripped breakers are indications to immediately stop and call a qualified technician. 2. Gas-Powered Appliances Gas leaks or problems with your oven/stove gas can be very hazardous. Never undertake DIY fixes on gas appliances unless trained. 3. Refrigerant Handling Repairing sealed systems or refrigerant leaks in refrigerators or AC equipment must be done under certification. Improper handling can lead to health risks. 4. Major Component Replacements If the repair entails the motor, compressor, or control board, let professionals handle it. Safety First: Tips Before Attempting DIY Repairs Unplug the appliance prior to working on it Wear protective gloves and goggles Keep the working area dry and clean Read step-by-step instructions carefully Don’t guess; stop if in doubt The Cost Factor: DIY vs. Professional Repair DIY fixes can obviously save money, but they might end up costing more in the long term if the repair does not hold or it damages something else. What the Professionals Provide That DIY Does Not Professional Diagnosis: They are able to identify underlying issues immediately. Warranty on Work: Their work is covered by a service warranty. Correct Tools & Spares: Professionals use OEM spares. Safety Guarantee: They observe codes and safety protocols. Hiring a technician from our appliance repair services can be the wiser choice if the problem is technical or involves safety. How to Select the Proper Appliance Repair Service If you plan on skipping DIY, select a professional service: Read reviews and ratings online Ask if they have experience with your appliance brand Check licensing and insurance Compare pricing between providers but don’t opt for the cheapest blindly To ensure your DIY appliance repair meets safety standards, explore trusted tips from factory-trained sources like your local utility provider or appliance manufacturer. FAQs About DIY Appliance Repair Q1: Will DIY appliance repair invalidate my warranty? Yes, if it’s done incorrectly or not authorized. Always check the warranty policy. Q2: Are there apps to assist with appliance repair? Yes, there are apps such as “RepairClinic” that can assist you. Q3: What is the most popular DIY appliance repair? Clogged filters, dusty coils, and door gasket replacements are the top ones. Q4: Should I purchase used parts for DIY repair? It’s best to purchase new OEM parts for compatibility and safety. Q5: How do I determine if it’s worth repairing an appliance? If the cost of repair is greater than 50% of the value of the appliance, consider replacement. Conclusion DIY appliance repair can be empowering and cost-effective—when done right. The key is knowing your limits and recognizing when it’s time to step back. If the issue is minor and well-documented, give it a shot. But for more serious, hazardous, or technical problems, calling a professional isn’t just safer—it’s smarter. If your fridge isn’t cooling properly, check out our expert guide on common refrigerator issues in summer and see how smart DIY appliance repair can save the day. Balance caution with confidence, and you’ll keep your home running smoothly without unnecessary stress or expense.